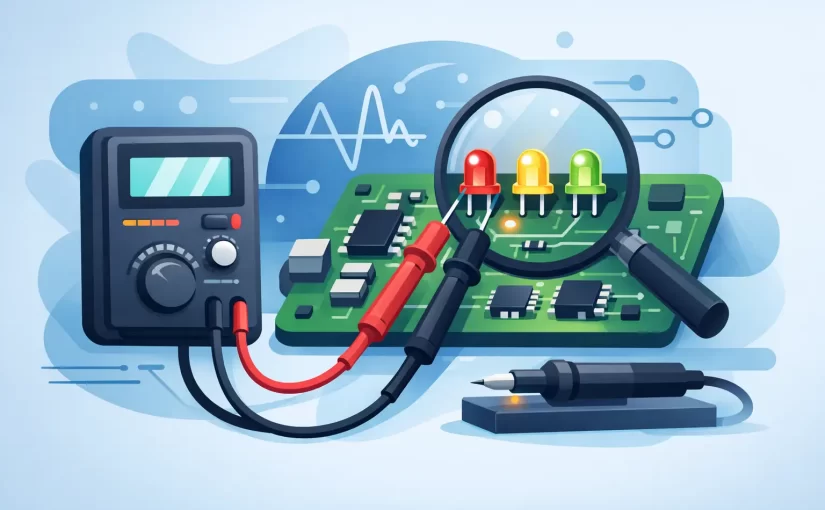
A failed backlight, indicator, or illumination string is rarely diagnosed well by simply asking whether an LED turns on. A variable current LED tester applies a known, adjustable current so the technician can observe forward voltage, brightness behavior, polarity, and consistency across devices. That controlled test condition matters when working with high-brightness LEDs, parallel paths, populated boards, and assemblies where excessive test current can create a misleading result or cause additional damage.
For PCB repair, production inspection, and field service, the useful question is not only whether an LED emits light. It is whether it behaves correctly at a current appropriate to its type and application. An adjustable-current test method provides a more defensible answer than a fixed-output continuity setting or an uncontrolled bench supply.
Why a Variable Current LED Tester Produces Better Results
An LED is a current-driven semiconductor. Its forward voltage changes with current and temperature, while perceived brightness does not increase linearly with electrical current. A test instrument that applies one fixed current may be adequate for a quick polarity check, but it can hide differences between a low-current signal LED and a high-power white LED.
Variable current lets the operator begin at a conservative level, confirm basic operation, and increase current only as required to produce a meaningful observation. This is particularly useful when the LED package is unknown, the circuit is partially populated, or the technician is probing a board where nearby components may affect the reading.
At a controlled current, forward-voltage comparison becomes more useful. LEDs of the same type and color should generally show similar forward voltage under the same test conditions. A large difference can indicate a damaged junction, an incorrect replacement part, an intermittent connection, or a device from a different bin or technology. It is not absolute proof of failure, since chemistry, temperature, and package construction all affect the result, but it is a strong diagnostic signal.
The method also protects the device under test. A small indicator LED may be harmed by a current intended for a power LED. Conversely, an extremely low test current can make a damaged high-power emitter appear normal because it has not reached the operating range where the fault becomes visible.
What to Measure Beyond Illumination
A useful LED test procedure combines visual inspection with electrical comparison. First, establish polarity and confirm that the device conducts in the expected direction. Then observe forward voltage at a stated test current. If the application contains multiple identical LEDs, compare each one under the same current setting rather than relying on an isolated value.
Brightness should be treated carefully. A visibly dim LED can be defective, but ambient light, viewing angle, phosphor condition, optics, and drive current can all affect what the eye sees. For white backlight LEDs, comparing devices side by side at the same current is more reliable than judging one device in isolation.
Intermittent faults require an additional step. Gently flexing the board, applying light mechanical pressure around solder joints, or warming the area slightly may reveal a connection that opens only under stress. In these cases, watch for changes in forward voltage or light output while maintaining a stable current. Do not raise current merely to force an intermittent device to fail visibly.
For LED strings, the tester must have sufficient voltage compliance to overcome the combined forward voltage of all LEDs in series. Current capability alone is not enough. A string of ten white LEDs may require approximately 25 V to 35 V or more, depending on operating current and device type. If the tester cannot supply the required voltage, a no-light result does not prove that the string is open.
Choosing Current for the Device Under Test
Current selection depends on LED construction and the objective of the test. For an unknown small LED, start at a low current. The goal is to confirm conduction and identify polarity without overstressing the junction. Increase only when needed to evaluate brightness or compare it against similar devices.
For high-brightness LEDs, a low-to-moderate current is often enough for diagnostic work. Full rated operating current is usually unnecessary and may introduce thermal effects that complicate the measurement. At higher current, junction heating lowers forward voltage, so readings taken after a few seconds may not match the initial value. Repeatable testing means using the same current, similar test duration, and similar ambient conditions for every comparison.
The appropriate test point also depends on whether the LED is loose or installed. A loose component can be evaluated directly, while an in-circuit LED may have parallel components, driver IC paths, ESD protection structures, or capacitor charging effects that alter the measurement. When a result is questionable, isolate one lead or compare the measurement with a known-good board.
Current Is Not a Substitute for Voltage Compliance
The distinction is operationally important. Test current determines how strongly the LED is driven. Voltage compliance determines whether the instrument can sustain that current through the device or series string. A variable current LED tester should state both specifications clearly.
If an instrument reaches its voltage limit before the selected current is achieved, the displayed condition reflects the limitation of the test setup, not necessarily the condition of the LEDs. Technicians troubleshooting television backlights, architectural lighting modules, or long display strings should verify maximum output voltage before selecting a tester.
In-Circuit Testing Requires Controlled Probing
A populated PCB introduces variables that are absent on a loose LED. A driver circuit may provide a return path that changes the reading. Other LEDs may be connected in series or parallel. Protection diodes can conduct before the intended LED does. For that reason, probe placement and test direction should be deliberate.
Begin with power removed and stored energy discharged. Verify that large capacitors in LED driver circuits are safe before touching the board. Then use insulated, stable probes that contact the LED pads or accessible test points without bridging adjacent SMD components. On fine-pitch boards, tweezer-style probes can improve contact control and reduce the time spent repositioning standard leads.
Record the current setting and measured forward voltage when comparing boards or building a repair record. This is especially useful in quality control, where a technician may need to distinguish normal process variation from a genuine assembly defect. A repeatable measurement record is more valuable than a visual pass/fail judgment alone.
Common Misreadings During LED Testing
An open reading can indicate an open LED, reversed probes, insufficient voltage compliance, a series break elsewhere in the circuit, or an in-circuit path that prevents a valid measurement. A low reading may reflect a shorted LED, but it can also be caused by parallel circuitry. The tester result must be interpreted in the context of the schematic and board layout.
Do not assume that all LEDs with the same package outline are electrically equivalent. A 3 V white LED, a 6 V dual-junction backlight LED, an infrared emitter, and a colored indicator may look similar while requiring very different test conditions. The device marking, board designators, service documentation, and comparison with a known-good component should guide the selected current.
Another frequent error is comparing forward voltage values gathered at different current levels. An LED measured at 1 mA cannot be meaningfully compared with one measured at 20 mA. The current setting, polarity, contact quality, and test duration must remain consistent.
Building a More Efficient LED Diagnostic Workflow
For routine work, establish a controlled sequence: inspect the assembly, remove power safely, start at low current, verify polarity, compare forward voltage, then evaluate brightness only as needed. If the part is installed, assess whether surrounding circuitry could influence the result before condemning the LED.
A variable-current approach is also useful alongside broader component measurement. After locating a suspected LED fault, technicians may need to verify driver resistors, current-sense resistors, capacitors, connectors, and solder joints. Specialized handheld instruments such as Siborg Systems’ PCB-focused measurement tools can reduce handling time when those supporting components are small surface-mount parts.
The best LED test is not the one that applies the most power. It is the one that applies enough controlled current and voltage to produce a repeatable result, while preserving the board and narrowing the fault quickly.